"Fix It Like a Pro: DIY Roof Repair Secrets Revealed!"
Disclaimer: While this blog post provides information and tips for DIY roof maintenance, it's important to note that roofing work can be complex and potentially hazardous. The content provided is for informational purposes only and should not be considered professional advice. Attempting DIY roof repairs or maintenance without proper knowledge, experience, and safety equipment could result in personal injury or property damage. We strongly recommend consulting with a qualified roofing contractor for any roofing-related tasks to ensure the safety and integrity of your roof and home.
Embark on a journey to master DIY roof repairs with our expert guide. Discover insider tips and tricks that will empower you to tackle roof issues like a seasoned professional. This comprehensive blog post will unveil the secrets behind successful DIY roof repair, guiding you through the process from start to finish. By the end of this guide, you'll be equipped with the knowledge and confidence needed to fix your roof efficiently and effectively. Let's get started on your path to becoming a pro at DIY roof repairs!
Empowering Yourself for Roof Repairs
Empowering Yourself for Roof Repairs Embark on your DIY roof repair journey with confidence and skill. By arming yourself with the right knowledge and approach, you can tackle roof issues effectively and efficiently. Understanding the fundamentals of roof repair will not only save you time and money but also give you a sense of accomplishment. Let's delve into the essential guidelines that will empower you to fix your roof like a pro.
Navigating Your Roof Safely
Navigating Your Roof Safely: Before embarking on any roof repair project, it is crucial to prioritize safety measures to prevent accidents and injuries. Safely navigating your roof requires careful planning and adherence to best practices to ensure a successful outcome. By following these guidelines, you can minimize risks and work efficiently on your roof:
1. Start by conducting a thorough inspection of your roof from the ground to assess its condition and identify potential hazards.
2. Use a sturdy ladder that is tall enough to reach the roof without overextending or leaning against gutters.
3. Position the ladder on a level surface and secure it properly to prevent slipping or wobbling during ascent and descent.
4. Wear appropriate personal protective equipment, including non-slip shoes, gloves, and a helmet, to safeguard against falls and other injuries.
5. Take weather conditions into account, avoiding roof repair tasks during inclement weather or when surfaces are wet or slippery.
6. Work with a partner or have someone nearby to assist in case of emergencies or if additional support is needed.
7. Be mindful of the roof's slope and pitch, moving slowly and deliberately to maintain balance and stability while navigating elevated surfaces.
8. Use caution around roof edges and openings, ensuring proper barriers and safety equipment are in place to prevent accidental falls.
9. Familiarize yourself with how to safely move across the roof, keeping a low center of gravity and utilizing handholds or anchored ropes for added stability.
10. If you encounter any unforeseen challenges or feel uncomfortable at any point, prioritize your safety and seek professional assistance.
By prioritizing safety and following these guidelines, you can navigate your roof confidently and reduce the likelihood of accidents while undertaking DIY repair projects. Remember that safety should always be the top priority when working at heights, and taking necessary precautions will lead to a successful and injury-free roof repair experience.
Importance of Safety Measures
Safety is paramount when it comes to roof repairs. Before ascending your roof, ensure you have proper safety gear such as harnesses, sturdy footwear, and a stable ladder. Familiarize yourself with safe climbing techniques and never work on a wet or icy roof to prevent slips. Inspect the roof for any weak spots or structural damage before stepping onto it. Always inform someone of your repair activities, and consider enlisting a buddy to assist or monitor your progress from the ground for added safety. By prioritizing safety measures, you'll protect yourself and ensure a successful DIY roof repair project.
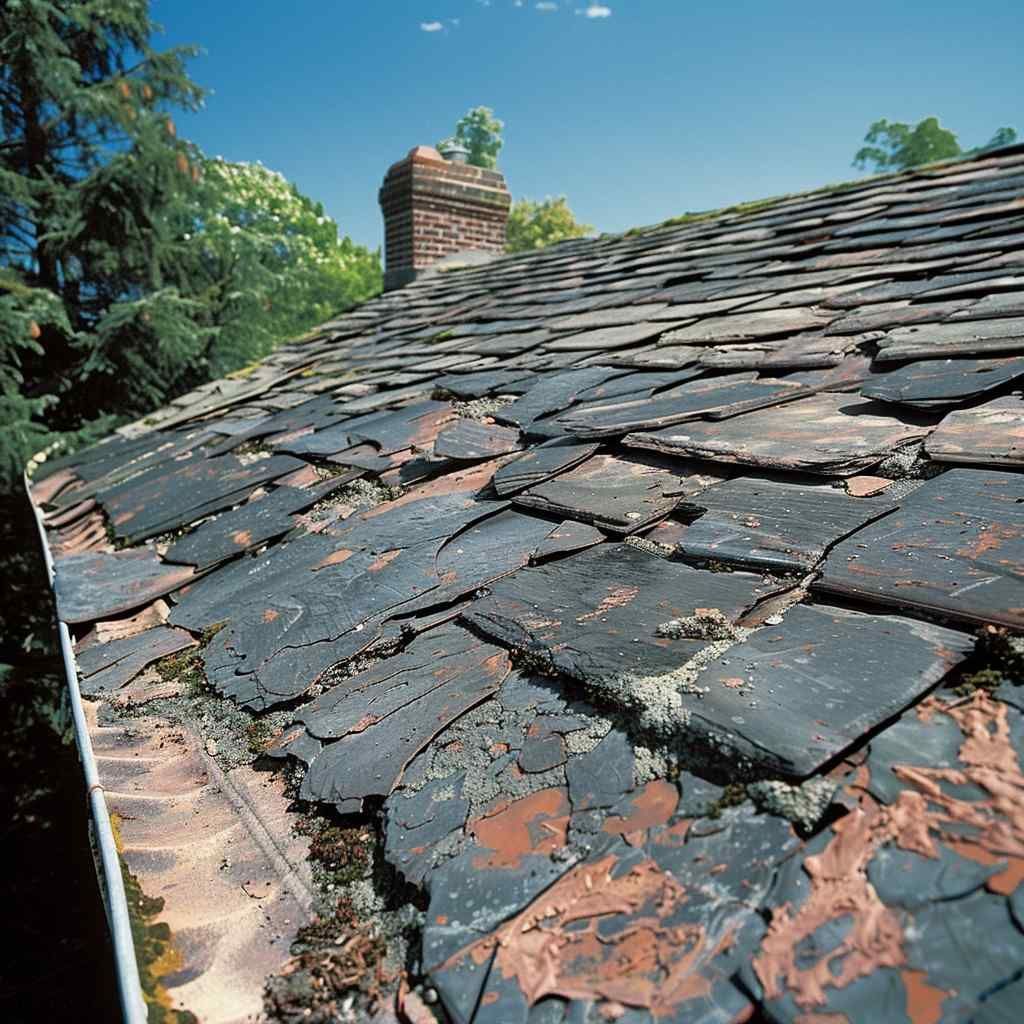
Assessing Roof Damage
Before you can begin repairing your roof like a pro, it's crucial to assess the extent of damage accurately. By identifying common roofing issues such as leaks, missing or damaged shingles, sagging spots, or signs of water damage, you can pinpoint the areas that require your attention. Utilize your inspection to create a comprehensive plan for addressing each problem effectively. Understanding the specific damage will guide you towards selecting the right tools and materials, ensuring a successful DIY repair process. Take the time to thoroughly evaluate your roof's condition to set yourself up for a successful repair project.
Identifying Common Issues
Before delving into DIY roof repairs, it's crucial to identify common problems that may plague your roof. Understanding these issues will enable you to assess the extent of damage accurately and plan your repair strategy effectively. Some typical problems to look out for include:
1. Leaks: Water stains on ceilings or walls can signal a leak in your roof. These can be caused by damaged or improperly installed flashing, cracked shingles, or deteriorated sealants.
2. Missing or Damaged Shingles: Inspect your roof for any missing, cracked, or curled shingles. Damaged shingles can compromise your roof's ability to protect your home from weather elements.
3. Granule Loss: If you notice granules from your shingles accumulating in gutters or near downspouts, it may indicate the shingles are reaching the end of their lifespan.
4. Sagging Roof Deck: A sagging roof deck can be a sign of structural issues or water damage. It's essential to address this problem promptly to prevent further damage.
By familiarizing yourself with these common roofing issues, you'll be better equipped to assess the condition of your roof and determine the necessary repairs to maintain its integrity.
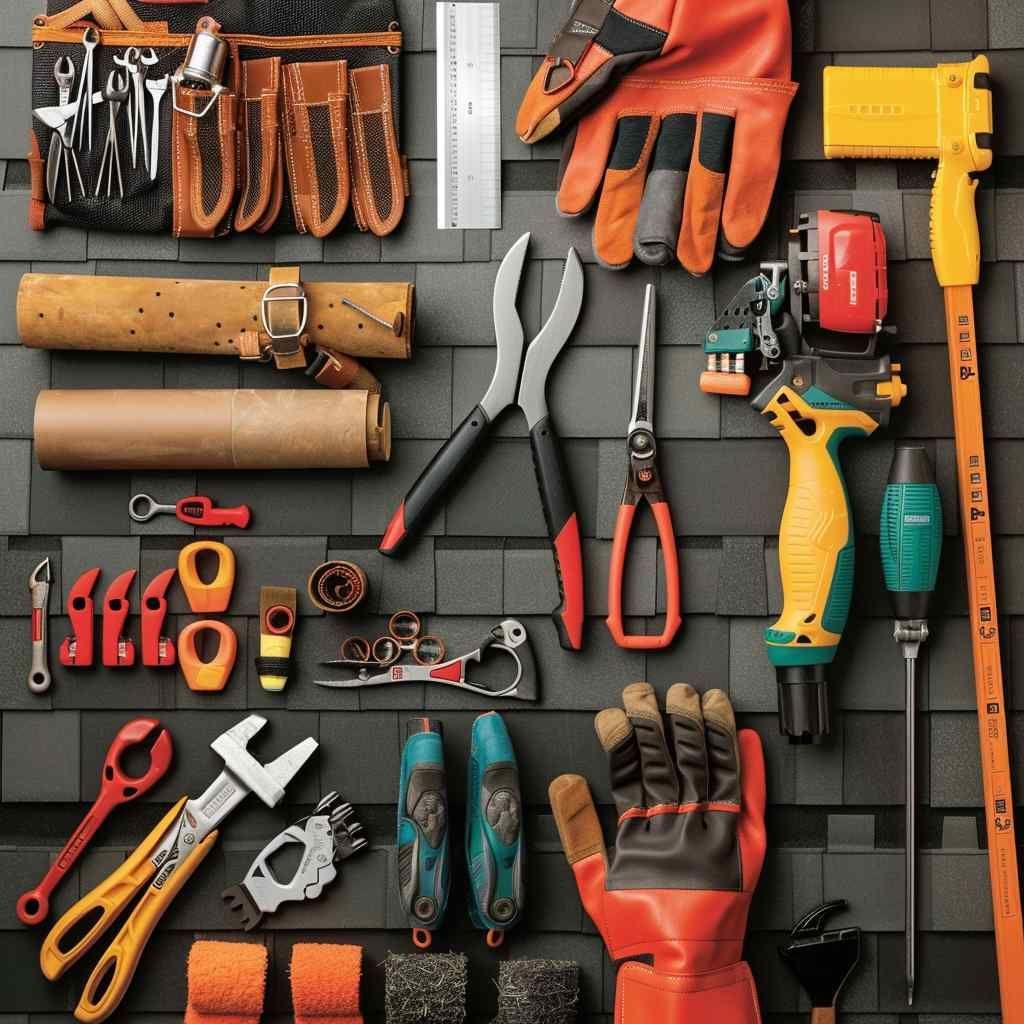
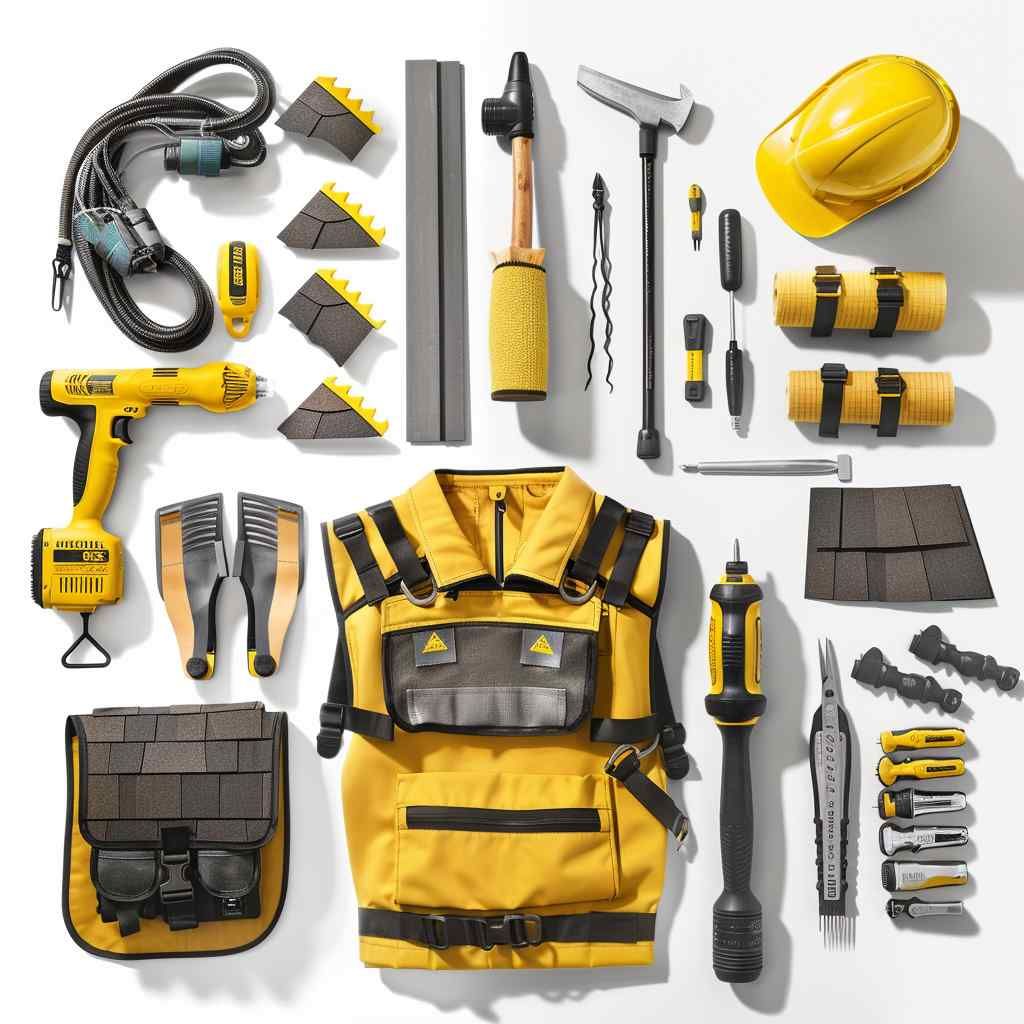
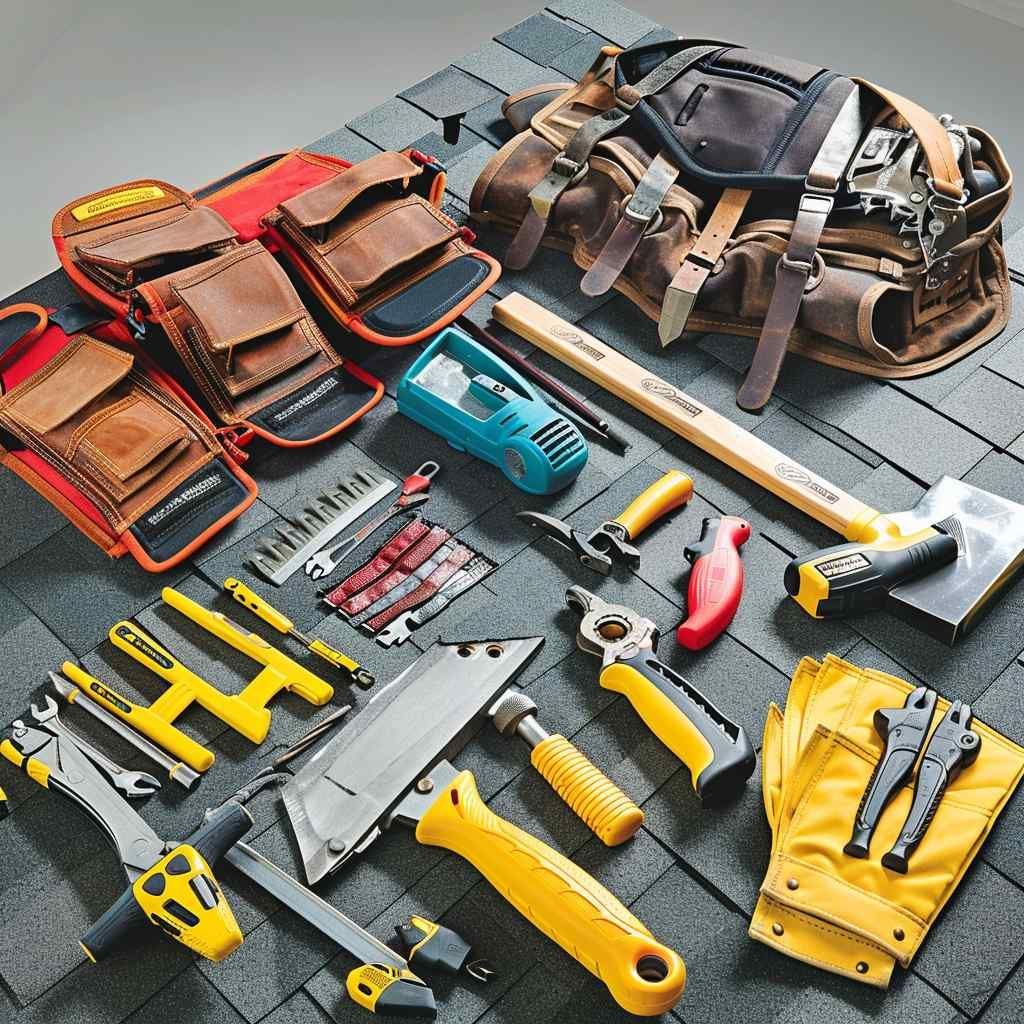
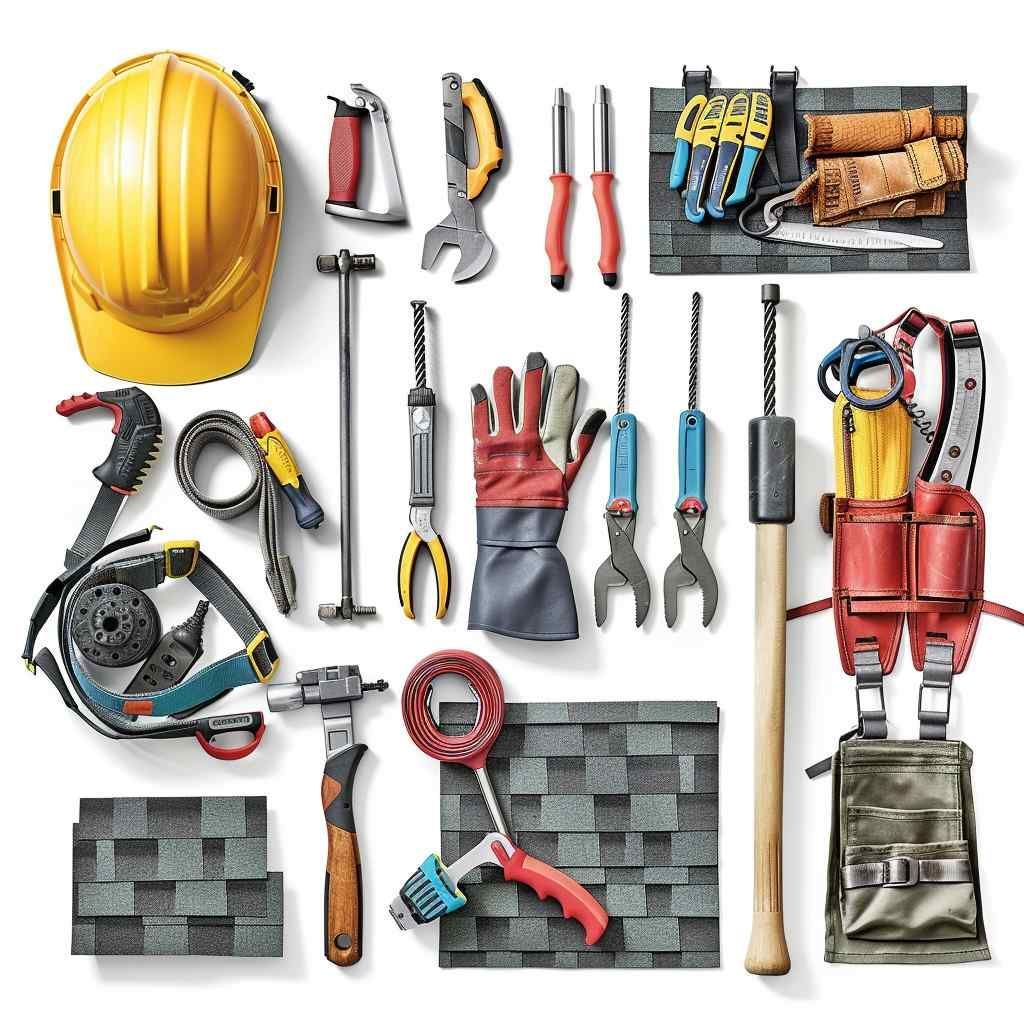
Selecting the Right Tools and Materials
When it comes to DIY roof repairs, having the right tools and materials is essential for success. Before starting any repairs, ensure you have the following key items on hand to tackle the job effectively:
1. Safety Gear: Prioritize safety with gear such as a stable ladder, proper footwear, work gloves, and eye protection. Additionally, consider using a safety harness if working on a steep roof.
2. Roofing Tools: Invest in quality roofing tools including a claw hammer, utility knife, roofing nails, pry bar, and a roofing nail gun for efficiency.
3. Materials: Depending on the repair needed, gather materials such as sealant, roofing cement, roofing adhesive, flashing, and replacement shingles to address various issues.
4. Roofing Shingles: Have extra matching shingles on hand to ensure seamless repairs and prevent color discrepancies on your roof.
5. Sealants and Caulk: Choose high-quality sealants and caulk to ensure a watertight seal on repaired areas, preventing leaks and water damage.
6. Roofing Tape: Consider having roofing tape for temporary fixes or securing leaks until permanent repairs can be made.
By equipping yourself with the right tools and materials, you'll be prepared to handle any DIY roof repair with confidence and efficiency, ensuring a successful outcome.
Key Considerations
When selecting tools and materials for your DIY roof repair, it's crucial to match them to the specific repair task. Consider the type of roofing material you have and ensure your tools are compatible to avoid causing further damage. Quality tools can make the repair process smoother and more efficient. Additionally, opt for high-quality roofing materials that are durable and match your existing roof for a seamless repair finish. Prioritize safety equipment as well, such as gloves, safety glasses, and sturdy footwear, to protect yourself during the repair process. By carefully considering the key tools and materials needed for your roof repair, you can achieve professional results while ensuring the longevity of your roof.
Step-by-Step Repair Instructions
In the step-by-step repair instructions section, it's crucial to approach each task methodically for successful DIY roof repairs. Start by gathering the necessary tools and materials mentioned earlier. Begin with repairing leaks, a common issue that can lead to more significant problems if not addressed promptly. When repairing leaks, locate the source of the leak by inspecting the roof surface and surrounding areas for any visible damage or signs of moisture. Once identified, seal the leak using appropriate sealants or patches, ensuring a watertight solution.
Next, move on to replacing damaged shingles, another common roofing problem that can compromise the integrity of your roof. Inspect the shingles carefully to determine the extent of the damage and remove any broken or deteriorated shingles. Replace them with new shingles, making sure to match the color and style to maintain the aesthetic appeal of your roof.Finally, address other common roofing problems such as damaged flashing, clogged gutters, or sagging roof sections based on the condition of your roof. Each repair task should be conducted meticulously, following best practices and safety precautions to ensure a durable and reliable outcome. By following these step-by-step instructions, you'll be able to tackle various roof repair issues effectively and with confidence, ultimately enhancing the longevity and performance of your roof.
Repairing Leaks
When it comes to DIY roof repairs, addressing leaks promptly is crucial to prevent further damage to your home. Begin by locating the source of the leak inside your home, which may appear as water stains or drips on the ceiling. Once you have identified the general area of the leak, head up to the roof to inspect the specific spot. Look for damaged or missing shingles, cracked flashing, or deteriorated sealant around vents and chimneys as potential causes of the leak.
To repair a leak, start by clearing the area around the affected spot and ensuring it is dry. Apply roofing cement or a patching material designed for your type of roofing material to seal the leak. For shingle roofs, lift the damaged shingle carefully, apply the sealant underneath, and press the shingle back into place. Properly secure the shingle to prevent future leaks.After completing the repair, closely monitor the area for any signs of recurring leaks. By addressing leaks promptly and effectively, you can safeguard your home from water damage and maintain a healthy and durable roof.
Replacing Damaged Shingles
When it comes to maintaining the integrity of your roof, addressing damaged shingles is a critical aspect of DIY roof repairs. Damaged or missing shingles can leave your roof vulnerable to water leaks, mold growth, and structural issues. Here's a comprehensive guide on replacing damaged shingles to restore the functionality and aesthetics of your roof
1. Inspecting Shingle Damage: Start by conducting a thorough evaluation of your roof to identify shingles that are cracked, chipped, curling, or missing. Pay close attention to areas where water damage or leaks are evident.
2. Gathering Materials and Tools: Before starting the repair process, gather the necessary materials and tools, including replacement shingles that match the existing ones, roofing nails, a hammer, a utility knife, roofing cement, and a pry bar.
3. Preparing the Work Area: Clear the work area of any debris or obstacles that could impede the repair process. Ensure you have a safe and stable working platform to prevent accidents.
4. Removing Damaged Shingles: Carefully lift the edges of the damaged shingles using a pry bar to loosen the nails. Avoid causing further damage to adjacent shingles during the removal process.
5. Installing Replacement Shingles: Slide the new shingle into place, aligning it with the surrounding shingles to ensure a seamless appearance. Secure the shingle in position using roofing nails, ensuring they penetrate the underlying roof deck for a secure hold.
6. Sealing and Securing Shingles: Apply roofing cement under the edges of the replacement shingle to create a watertight seal and prevent water infiltration. Press the shingle firmly in place to ensure proper adhesion.
7. Inspecting and Testing: Once all damaged shingles have been replaced, conduct a final inspection to check for proper alignment and secure attachment. Test the repaired area for leaks by running water over the repaired section and monitoring for any signs of water penetration.
8. Maintaining Roof Integrity: Regularly inspect your roof for signs of damage or wear to address issues promptly and prevent potential problems. Proper maintenance and timely repairs can extend the lifespan of your roof and protect your home from water damage.
By following these step-by-step instructions for replacing damaged shingles, you can enhance the longevity and performance of your roof while maintaining its visual appeal. Investing time and effort in timely roof repairs will ultimately save you money by preventing costly future repairs and minimizing the risk of structural damage.
Addressing Other Common Roofing Problems
In addition to leaks and damaged shingles, there are several other common roofing issues that DIY enthusiasts may encounter. Understanding how to identify and address these problems can help you maintain the health and longevity of your roof. Some of the other common roofing issues include:
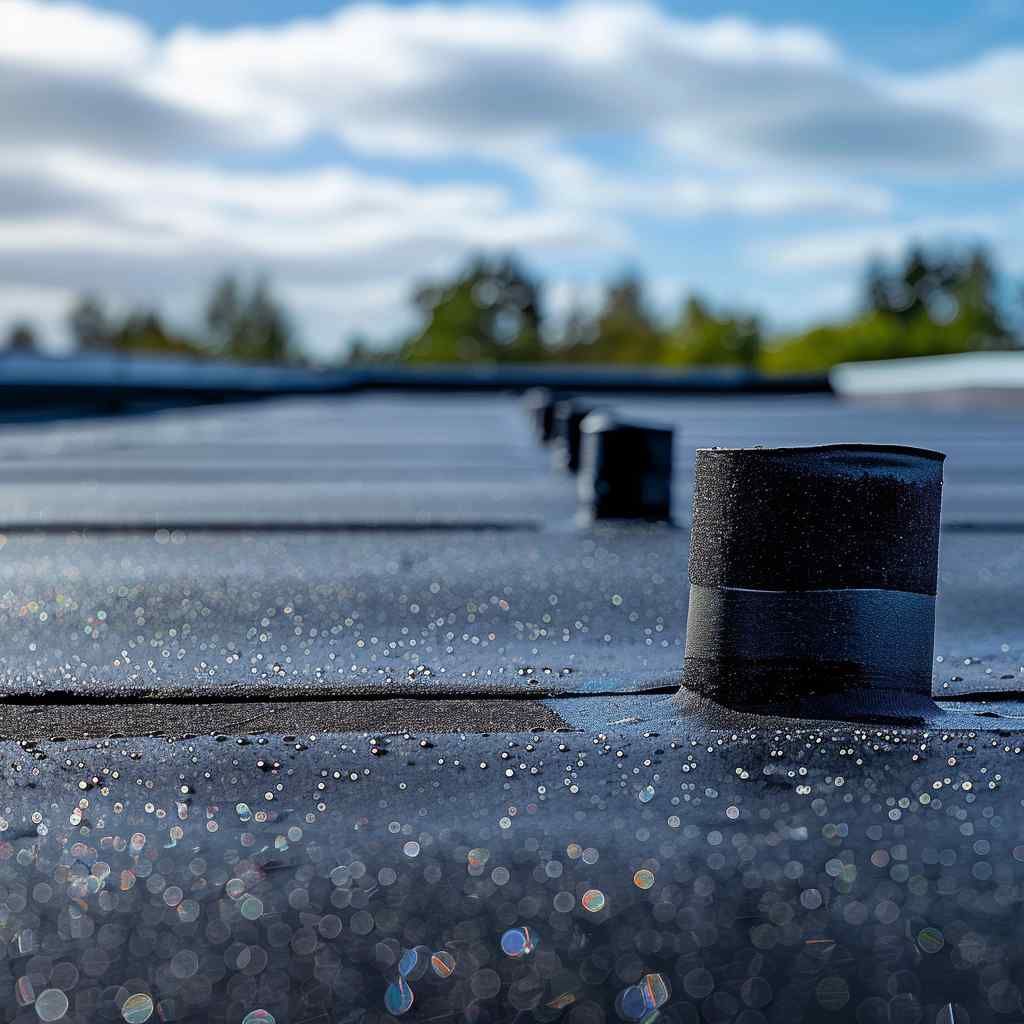
1. Flashing Problems: Damaged or improperly installed flashing can lead to water infiltration, resulting in leaks and water damage. Inspect the flashing around chimneys, vents, and skylights for issues.
2. Clogged Gutters: Debris accumulation in gutters can obstruct water flow, leading to potential water damage to your roof and home. Regular gutter cleaning is essential to prevent clogs.
3. Ponding Water: Flat or low-slope roofs may experience ponding water, which can accelerate roof deterioration. Proper drainage and regular inspections can help mitigate this issue.
4. Ice Dams: In colder climates, ice dams can form on roofs, causing water backup and potential leaks. Adequate insulation and ventilation can help prevent ice dam formation.
By proactively addressing these additional common roofing problems, you can maintain the structural integrity and functionality of your roof, ensuring it provides reliable protection for your home.
Comprehensive Advice for Efficient Repairs
For efficient DIY roof repairs, it's crucial to optimize your process and resources. Consider the following advice to enhance your repair efficiency and save both time and money:
1. Plan Ahead: Before starting any repair work, assess the extent of the damage and create a detailed plan of action. Having a clear strategy will streamline the repair process and prevent unnecessary delays.
2. Work Methodically: Follow a systematic approach when tackling roof repairs. Start with the most critical issues first, such as leaks or missing shingles, before addressing less urgent problems.
3. Use Technology: Take advantage of online resources, such as tutorials and how-to videos, to guide you through specific repair tasks. Utilize mobile apps designed for roofing projects to access helpful tools and calculators.
4. Prioritize Safety: Safety should always be a top priority during any repair project. Adhere to safety guidelines, use proper protective gear, and work in suitable weather conditions to prevent accidents and injuries.
5. Efficient Material Management: Organize your tools and materials in a way that maximizes efficiency. Keep commonly used items easily accessible to avoid unnecessary back-and-forth trips.
6. Seek Professional Help When Needed: While DIY repairs can be rewarding, know when a project is beyond your expertise. For complex or potentially dangerous issues, it's best to consult with a professional roofer to ensure the job is completed safely and effectively.
By implementing these strategies and tips, you can complete your roof repairs in a more efficient manner, ultimately saving time and money while achieving successful outcomes.
Saving Time and Money
To save time and money on DIY roof repairs, consider these efficient strategies:
1. Proper Planning: Before starting any repair work, create a detailed plan outlining the steps required and the materials needed. This preparation can prevent unnecessary trips to the store and streamline the repair process.
2. Bulk Purchases: When buying materials like shingles, sealants, or nails, consider purchasing in bulk. This can often result in cost savings compared to buying individual items and ensures you have enough supplies for future repairs.
3. DIY vs. Professional Help: Evaluate the complexity of the repair job. While many roof repairs can be done independently, some may require professional assistance. Knowing your limitations can prevent costly mistakes in the long run.
4. Maintenance Practices: Regularly inspecting and maintaining your roof can help identify issues early on, preventing larger and more expensive repairs in the future. Simple tasks like cleaning gutters and removing debris can extend the life of your roof.
5. Utilize Online Resources: Take advantage of online tutorials, forums, and guides to learn new techniques and tips for efficient roof repairs. This knowledge can help you work faster and more effectively, saving both time and money in the process.
By implementing these time and cost-saving strategies, you can enhance your DIY roof repair skills and complete projects with confidence while staying within budget.
Conclusion
In conclusion, by following the expert insights and guidance revealed in this comprehensive guide, you are now equipped to approach DIY roof repairs with confidence and efficiency. From empowering yourself with safety measures to navigating your roof and assessing damage, you have learned the essential steps to successfully address common roofing issues. Selecting the right tools and materials is crucial for a seamless repair process, ensuring that you have everything needed to tackle any roofing project effectively.
Furthermore, the step-by-step repair instructions provided for fixing leaks, replacing damaged shingles, and handling other common roofing problems offer a detailed roadmap for executing repairs like a seasoned professional. With a focus on saving time and money, you have discovered valuable tips to maximize efficiency and minimize costs during your repair endeavors.
By implementing the insights gained from this guide, you can take on roof repairs confidently, knowing that you have the knowledge and tools necessary to address issues promptly and effectively. Don't let roofing problems linger—empower yourself to fix them like a pro today and enjoy the benefits of a well-maintained roof for years to come.
If after reading this DIY guide, you prefer to leave the roof maintenance to the professionals, our experienced team is here to help. Contact us today for expert roof care services tailored to your needs.